In the previous blog, we took the first step to developing a bodacious booty. We learned that in no fashion or form can we develop the shape, size, or strength of any muscle that can’t be activated. The body is a system and all of its parts work together all the time to function properly. When one of those parts isn’t doing its job for a variety of reasons (lifestyle factors mostly), that’s where dysfunction begins. Other parts begin trying to assist the weak link(s). Now that we know what to stretch (hip flexors), we now can effectively begin to strengthen, tighten, and tone.
You may have found yourself doing thousands of butt-pumping exercises through the years without the results you sought. Let’s fix that. It’s time to use one of the most fundamental glute exercises available to us: The Glute Bridge. There is nothing sexy about it. You lie on your back. You bend your knees sliding your heels close to your hips. Your feet are about hip-width apart. You press in and “battaboom, battabang hello Sir Mix-a-Lot worthy buttox.” While this is the basis for the movement, properly executing it will allow you to achieve real results.
The Glute Bridge
Step 1 – Setup
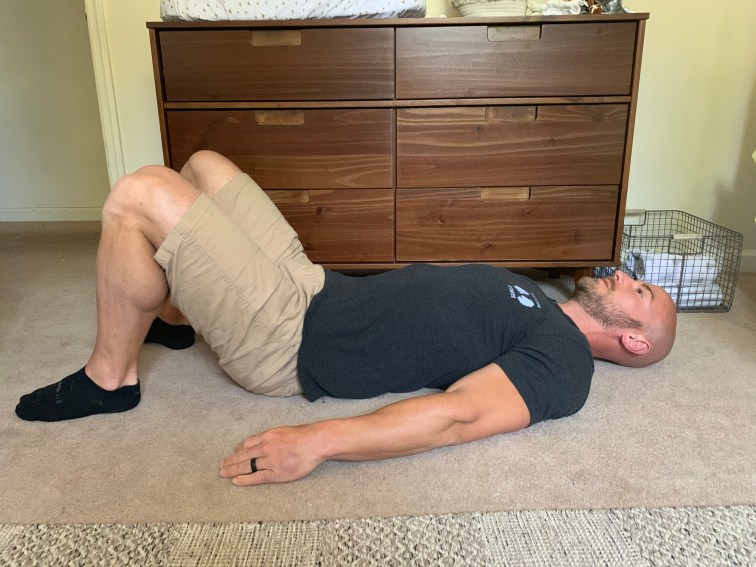
Prior to lifting the hips, make sure that your pelvis is tucked and your back is flat. Engage your lower ab muscles to do this. You may want to consider doing a couple pelvic tilts to figure this out. All that entails is arching your back then flattening your back in the position above. The flattened position is the position in which you will “bridge” up from engaging your glutes.
Step 2 – Bridge
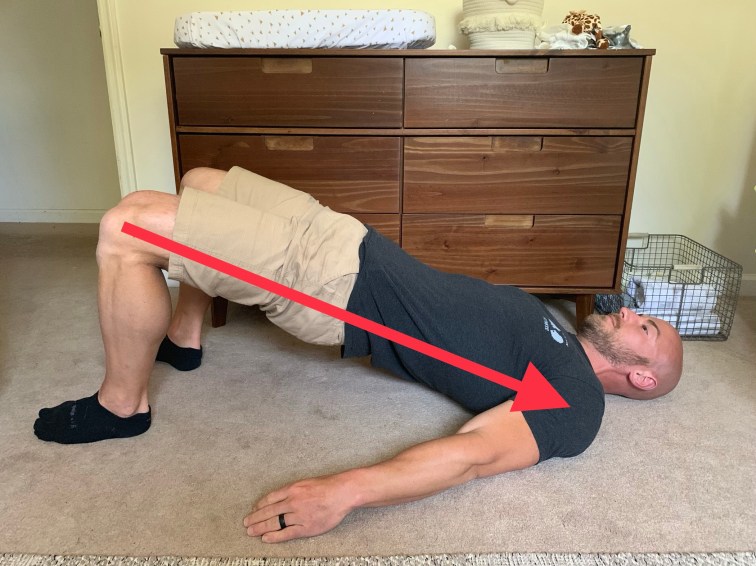
Just before liftoff from your lying position, take a big inhale so that you can exhale as you lift. As mentioned above, the body is deeply interconnected and so the exhale breath on the bridge will allow for increased core (glute and ab) activation and stability through the spine. Now lift. Breathe out forcefully as your hips move up to the finishing position pictured above. Have someone look at you from the side view to make sure that your shoulders, hips, and knees are in a straight line. At the top of the movement, pause for at least a 2 count. What do you feel? You should feel your hamstrings, which are the muscles that run from the back of your knee up to your butt cheek. You should feel the targeted muscle group, your gluteus maximus. Lastly, you may feel just a little tension through your lower back. IF you do, tighten your glutes and abs just a little more. The low back, while involved, should not be a focal point of sensation in the Glute Bridge although it often is felt there.
Added Challenge
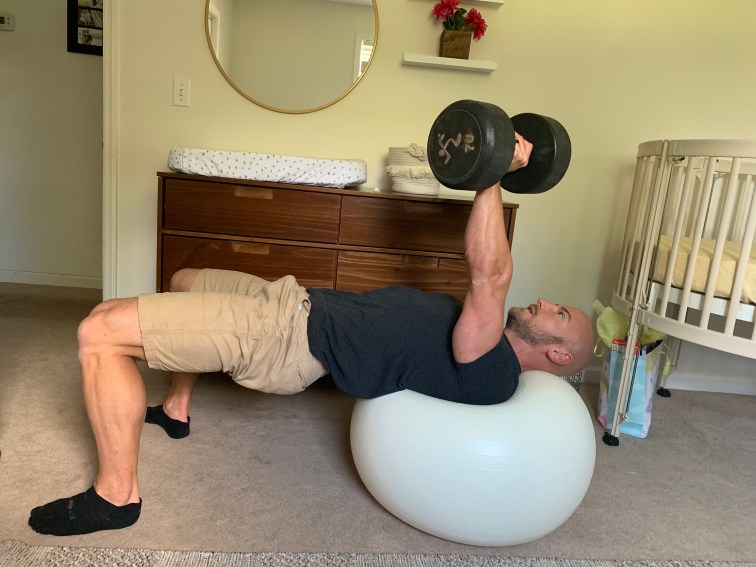
You may be a more advanced follower and that’s great. I want you to find this to be doable but at the same time, challenging. The Glute Bridge can be advanced in hundreds of different ways. Pictured below is an example.
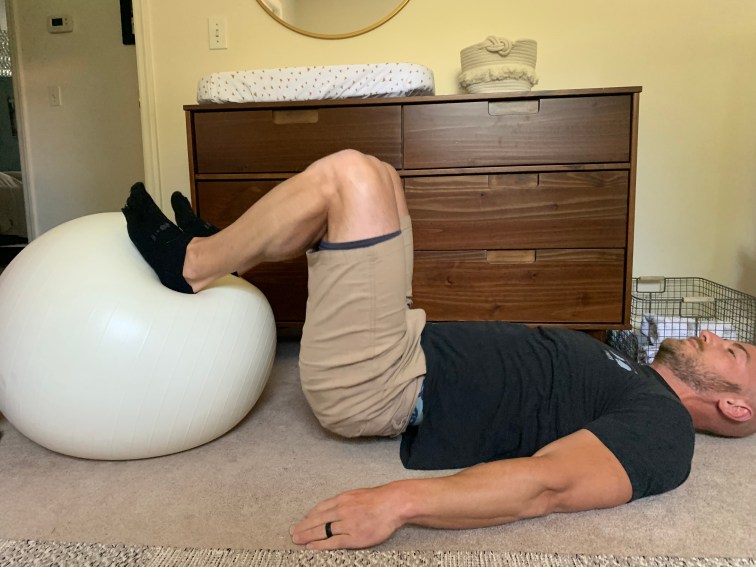

The stability ball presents a challenge to supporting muscle groups to become more involved. Unstable surfaces force recruitment of more muscle fibers to execute a movement. Granted, these fibers should be able to be discovered through mind and body connection so in theory, you wouldn’t need an unstable device. However, stabilization training like this helps to reprogram the mind and body so they communicate with one another faster and more efficiently.
Program Design
Before providing a set and rep scheme for building the beautiful backside you crave, I have a couple other words of wisdom.
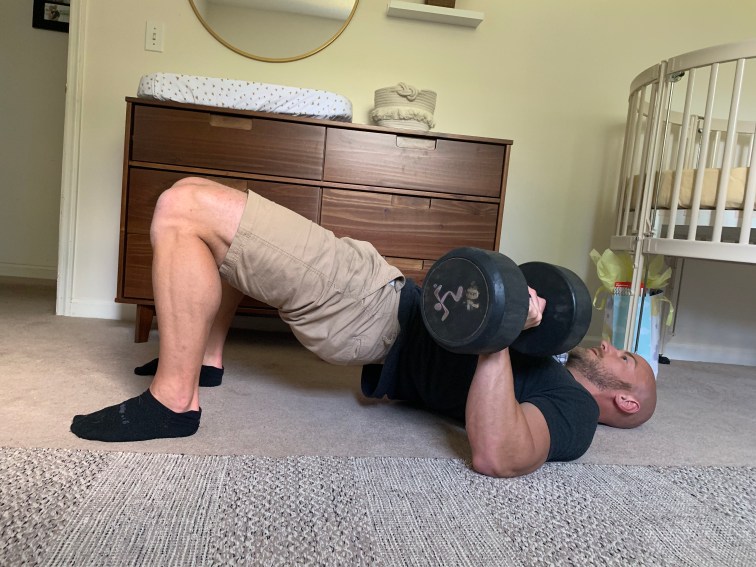
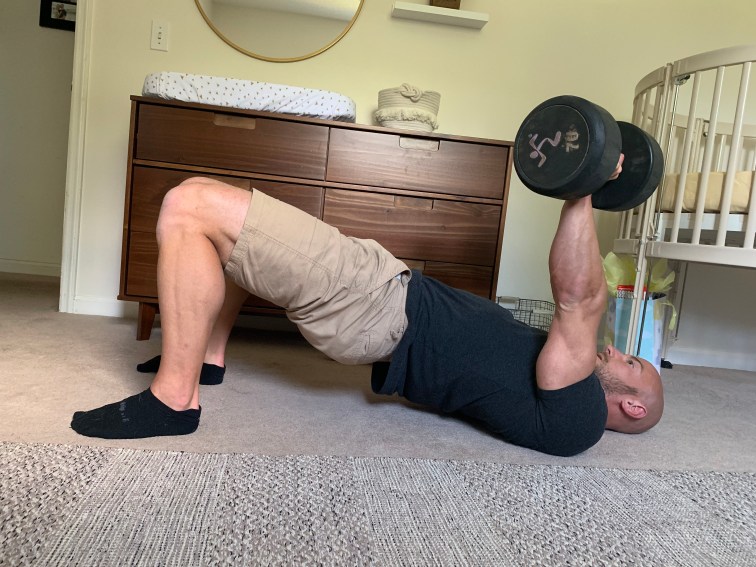
1. Incorporate the bridge in as many lifts as possible.
For example, a glute bridge floor dumbbell chest press pictured here:
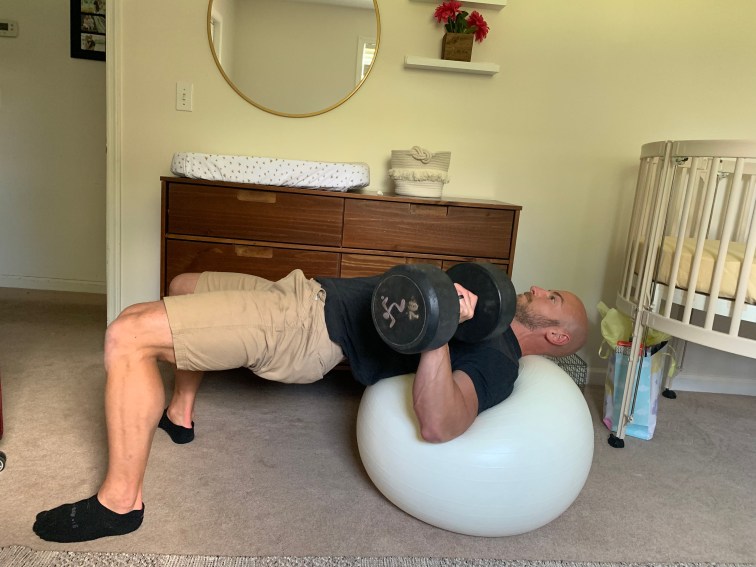
OR a stability dumbbell chest press with one arm or both as pictured here:
This will allow you to train your glutes even when they aren’t necessarily the targeted muscle group for an exercise. All too often, workouts are designed for people, like the bench press for instance, and it’s not a bad movement, but we fail to engage the whole body and just work on what is moving. A good coach or program will cue you on using the whole body and not just its parts.
2. Always warm it up
The glute bridge may be a part of your training that day, but you should start the workout with it. By prepping your “pillar,” you tell your body that these are areas that need to be active and ready to perform. Your pillar includes everything centrally located on your body, but for our purposes today, your Gluteus Maximus.
As For Training Your Butt…
Being that your your glutes are a big muscle group, they will need significant overload to see development. Here is a beginner’s guide:
Floor Glute Bridge
– 3 sets
– 12 to 25 repetitions
– “rest” time: 60s
– 2 to 4x/wk
Work up to the sets of 25 reps over a 3-6 week time frame. Once there, move to the next tier of this movement that incorporates the stability ball. If you don’t have a stability ball and don’t intend to buy one, use an elevated surface like a couch cushion or the couch itself. This will provide a level up for you to progress to. Once at the level, work up to the same set and rep schedule with the added implement (stability ball, couch cushion, etc). Rest about 60s between sets, but keep active. Take a brisk walk or light jog or march in place while you “rest” for the next set.
Wrapping It Up
The most important part about the set and rep schedule is that you just start. If 5 reps challenges you now, do not be disheartened. Just know that this is where you are and where you are is all that matters because you won’t be there long. After starting, it’s about consistency. Consistency is the key to this whole thing. What you do once or twice won’t have lasting impact. Commit to being fit and then be ready to buy new clothes because you’re on a path to building your butt.
